Segments for creating groups of contacts
How you can group your contacts using Segments for more convenient access
Where have my contacts segments gone? They are still there and now shown as more powerful contact views - see this changelog post or check out the help on contact views.
You already use the filter on the Contacts page to sift through your contacts. But did you know that you can save your most-used filters as a segment to save yourself time in future?
For example, you might often target readers in Belgium with a decent click rate. Instead of applying the same filters every time, you can save a segment that combines the Country 'Belgium', and the Click rate with operators set to 'Greater than' and value '10'%.
Segments come in really handy for creating separate media lists you can use again and again.
And because segments are dynamic, each time you add a new contact that matches your segment filters to your database it will automatically be added to your saved segment. Neat, huh?
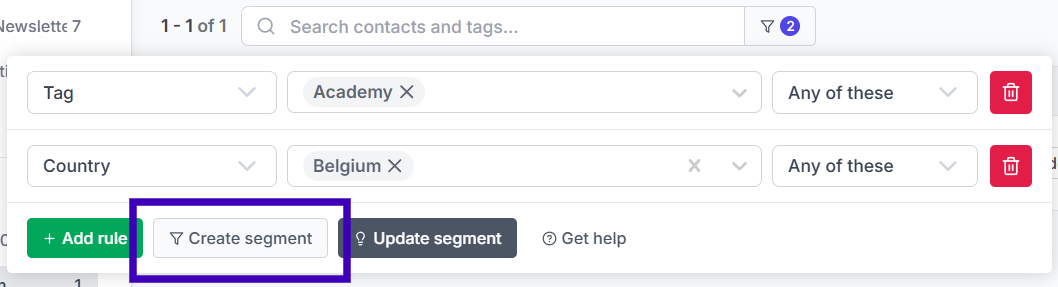
To create a contact segment, use the filters on your Contacts page, you can search for a specific set of contacts, and then click on the Create segment.
You can then find the saved segment in the sidebar on the left sidebar for quick access.
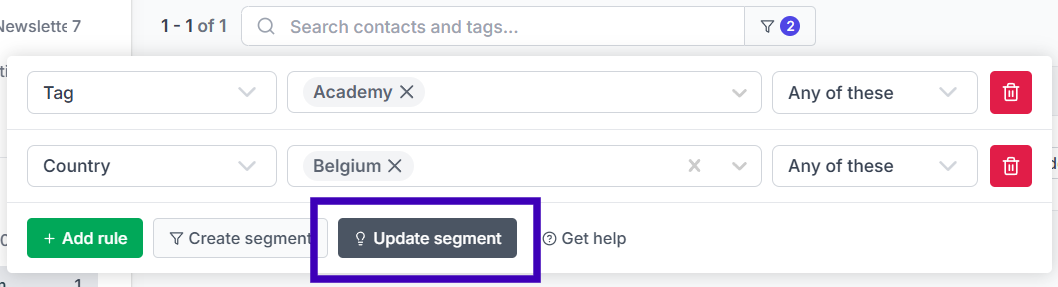
Click on the Segment you want to edit in the left sidebar, then add or remove filter rules you would like your contacts to meet. Click on "Update Segment" once you've made changes to the filter rules.
Hover over the Segment on the left sidebar and click on the "•••" button, then on "Rename Segment."
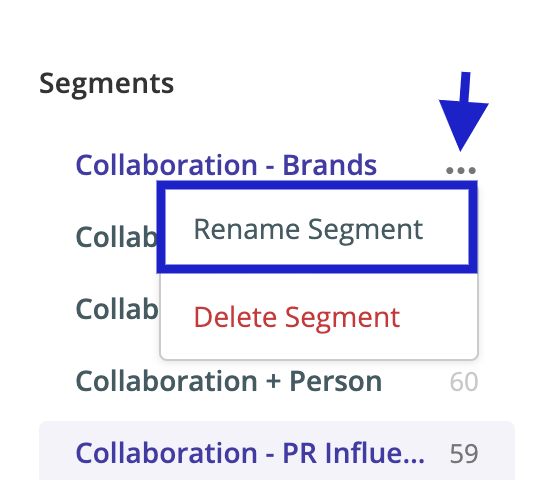
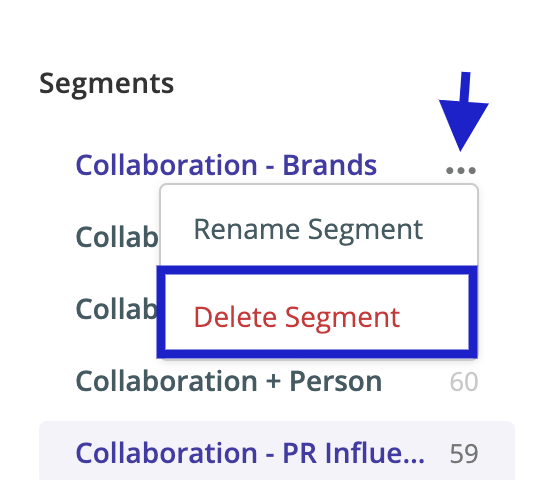
Hover over the segment on the left sidebar and click on the "•••" button, then on "Delete Segment."
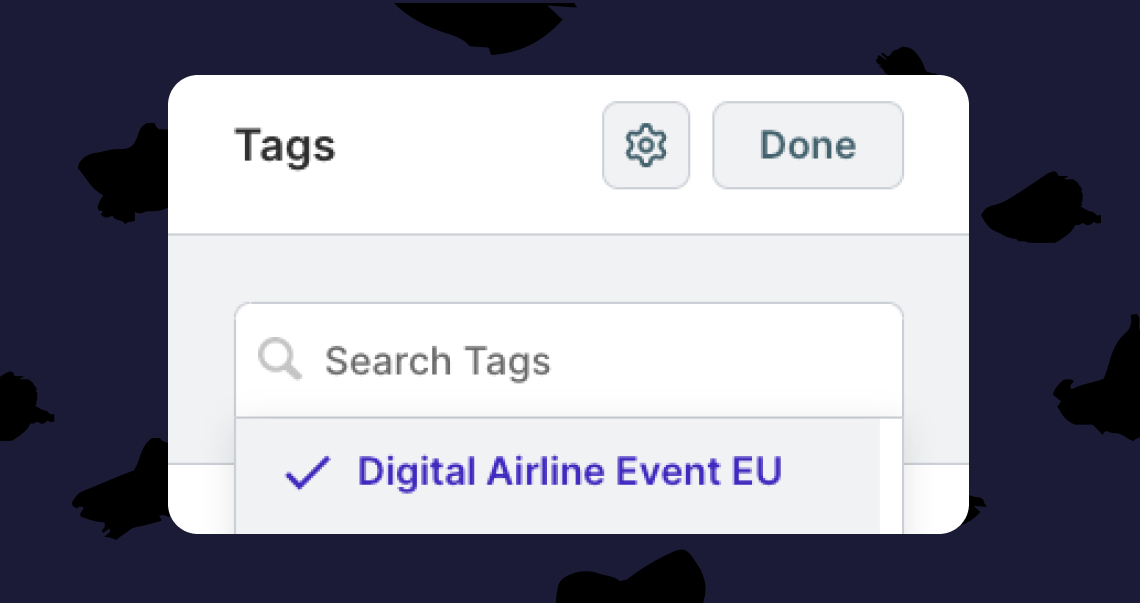
Segments are made based on tags. So if you edit a contact and remove a tag from the contact, the contact will stop being a part of your segment because it no longer matches that segment's criteria.
For example: You are sending a campaign to Segment1 and Segment1 is made of Tag1 and Tag2, you should Edit your contact (find the contact you don't want to be a part of a segment and go to 'View full profile' of that particular contact) and remove Tag1 and/or Tag2 from that contact.
About the author
 KD
KD